Custom direct-to-film transfer services in Metro Atlanta/Stockbridge, Ga. 770-702-2303


How to Press
Transfers
Pressing DTF TRANSFER by Craft Sign Supply by beKReativ Designs
Published on Wednesday, December 04, 2024 by Kenyetta Kendrick Hylton
Customizing your clothes and accessories has never been easier or more fun, thanks to Direct-to-Film (DTF) transfers. Whether you're revamping your wardrobe or adding a creative touch to your favorite items, pressing DTF transfers gives you bold, long-lasting results with minimal effort. In this guide, we'll walk you through the process of pressing DTF transfers like a pro!
What Are DTF Transfers?
LDTF transfers are pre-printed designs that can be applied to fabric surfaces using heat and pressure. They offer vivid colors, high durability, and versatility, making them ideal for personal and professional projects. From T-shirts and tote bags to jackets and hats, DTF transfers allow you to customize almost anything.
What You Need to Get Started:
Before pressing your DTF transfers, gather the following materials:
-
DTF Transfer Sheet (pre-printed design)
-
Heat Press Machine or an iron
-
Garment or fabric item (e.g., T-shirt, jacket, tote bag)
-
Teflon Sheet or Parchment Paper (for protection)
-
Flat, heat-safe surface
-
Lint roller (optional but helpful)
Step-by-Step Guide to Pressing DTF Transfers
Step 1: Prepare Your Workspace and Garment
-
Start by laying your fabric item flat on a heat-safe surface or on the heat press platen.
-
Use a lint roller to remove any dust or lint that could affect the transfer's adhesion.
-
Pre-press the garment for 5-10 seconds to remove any wrinkles or moisture.
Step 2: Position the DTF Transfer
-
Place your DTF transfer face-down on the garment with the printed side touching the fabric.
-
Align the design where you want it to appear, making sure it’s centered and straight.
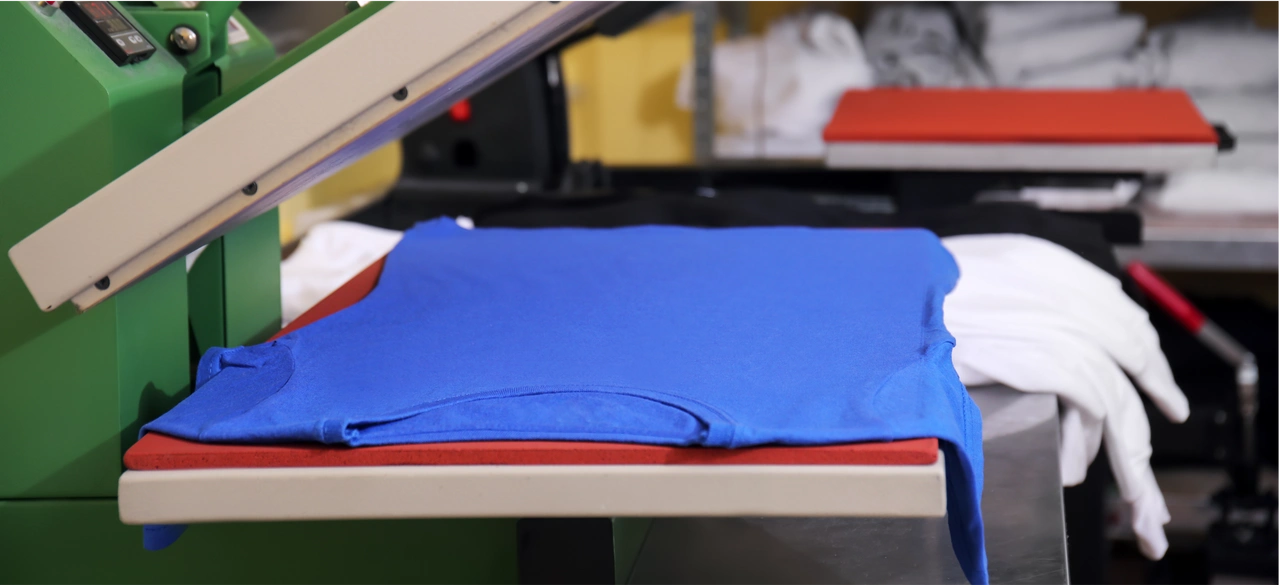
Step 3: Apply Heat and Pressure
-
Set your heat press to 300-325°F (150-160°C) with medium pressure.
-
If using a household iron, set it to the "cotton" setting with no steam.
-
Place a Teflon sheet or parchment paper over the transfer to protect it.
-
Press the transfer for 15-20 seconds. Apply firm, even pressure.
Step 4: Cool and Peel
-
Allow the transfer to cool down for 10-15 seconds (cool peel) or as per your transfer’s instructions.
-
Carefully peel the transfer sheet off, starting from one corner. Go slowly to ensure the design adheres completely to the fabric.
Step 5: Finish the Transfer (Optional)
-
For added durability, place a Teflon sheet over the design and press again for 5-10 seconds.
-
This step ensures the design is securely bonded to the fabric.
Tips for Success:
-
Always follow the temperature and timing instructions for your specific DTF transfers.
-
Perform a test press on a scrap piece of fabric if you’re new to the process.
-
For best results, wash garments inside out and air-dry to maintain the design’s longevity.
Pressing DTF transfers is simple, fun, and a great way to customize your wardrobe. For a step-by-step visual guide, check out our full video tutorial on YouTube.
Ready to start crafting? You can purchase DTF Prints today from Craft Sign Supply or Etsy.
Let your creativity shine, express yourself, and bring your ideas to life.
Happy Crafting! ✨

About Creative Impressions
We support small businesses with high-quality crafting products, including Ready to Press DTF Transfers for easy, professional designs. Based in Metro Atlanta, we offer fast shipping, local pickup, and a wide range of supplies to help you grow your business.


Related Posts